atomspectra-waterfall-esp32
Installing the AtomSpectra ESP32 Gateway
🇷🇺 Русская версия · 🇬🇧 English
Step-by-step guide: from a bare board to a working spectrum in your browser.
1. What you need
Hardware
| Component | Why |
|---|---|
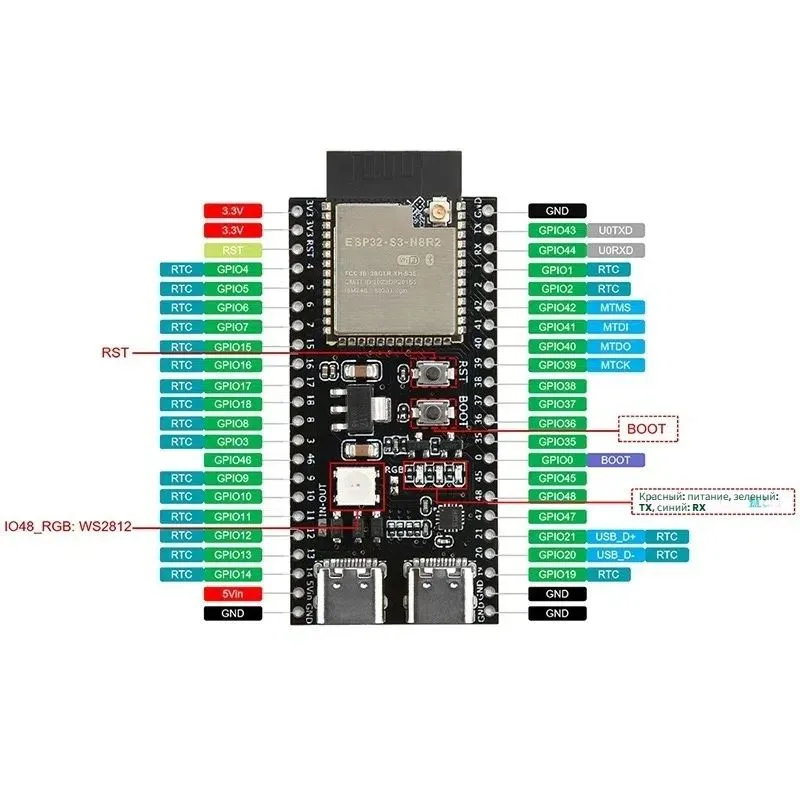
| ESP32-S3-DevKitC-1 N16R8 | The gateway board. It must be the S3 — you need USB OTG Host (GPIO19/20). A regular ESP32 / C3 will not work — they have no USB Host. 16 MB Flash + 8 MB PSRAM. Buy on Ozon |
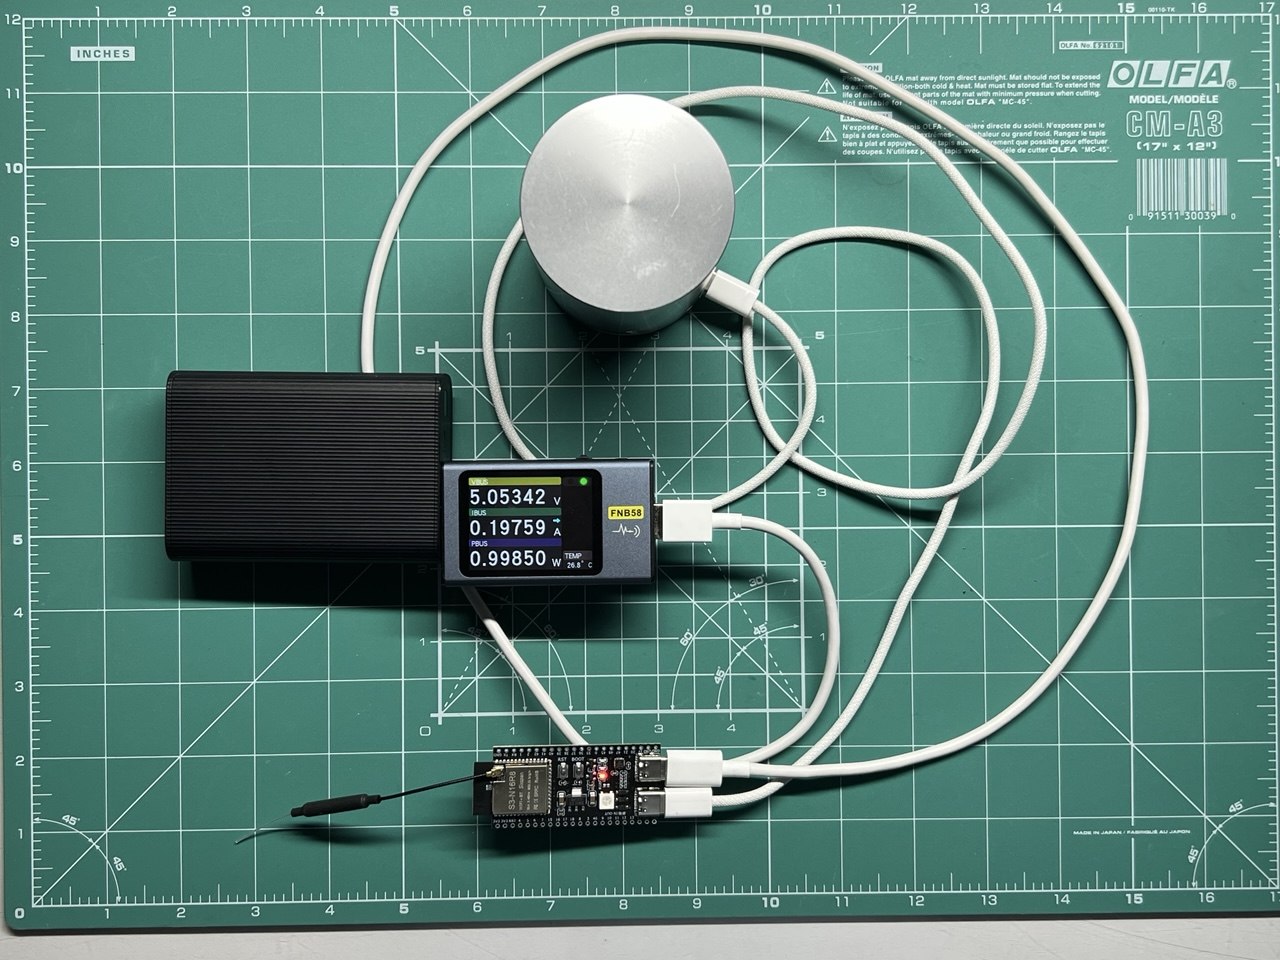
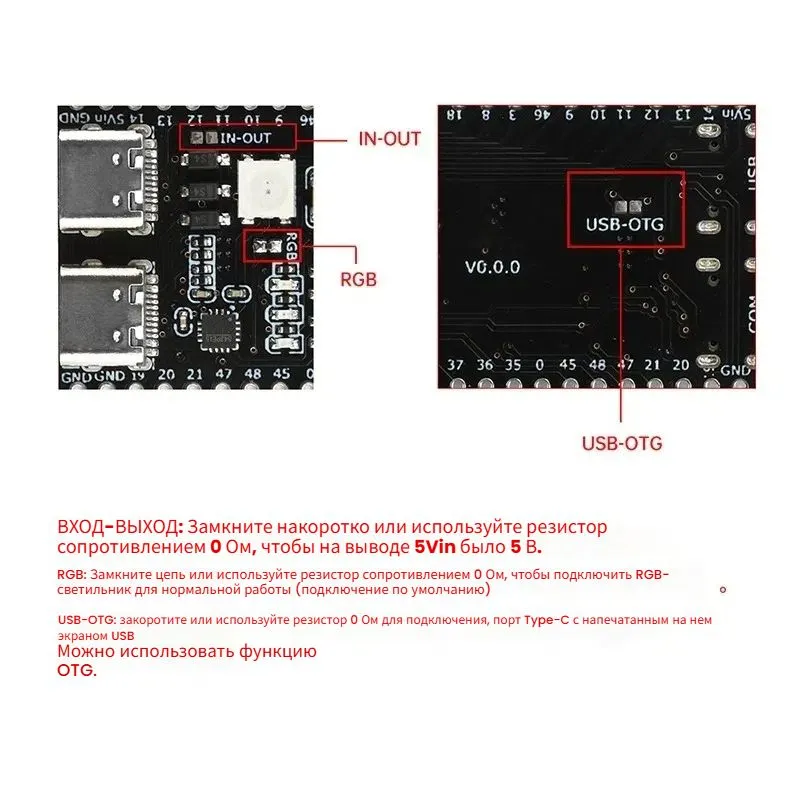
| USB-C OTG cable | Connects the ESP32-S3 USB port (host) to the spectrometer USB port (device). The ESP32-S3-DevKitC-1 has two USB-C connectors — use the one labeled “USB” (not “UART”). |
| USB cable for flashing | Connects the ESP32-S3 UART port (labeled “UART”) to the PC for the first flash. |
| KB Radar “Atom Spectra” | A gamma spectrometer with a USB port. Inside — FTDI FT232R (VID 0403, PID 6001), 600000 baud. |
| 5V USB power supply | For continuous operation (after flashing, the USB-UART cable can be removed). |
Software
Option A — local ESP-IDF (recommended for development):
- ESP-IDF v5.1+
- Python 3.8+
- Git
Option B — Docker (simpler, nothing to install):
2. Physical connection
                    USB-C "UART"              USB-C "USB" (OTG)
                    (for flashing)            (for the spectrometer)
                         │                         │
 ┌─────────┐        ┌────┴─────────────────────────┴────┐        ┌──────────────┐
 │   PC    │◄──────►│         ESP32-S3-DevKitC-1        │◄──────►│ Atom Spectra │
 │ (COM14) │  USB   │            N16R8                  │  USB   │ (FTDI FT232R │
 └─────────┘        └───────────────────────────────────┘  OTG   │  600 kBd)    │
                                    │                            └──────────────┘
                                    │ WiFi 2.4 GHz
                                    ▼
                              ┌───────────┐
                              │  Browser  │
                              │  BecqMoni │
                              └───────────┘
Important: the ESP32-S3-DevKitC-1 has two USB-C connectors. Use the UART port for flashing. Use the USB (OTG) port to connect the spectrometer. Do not mix them up!
3. Building the firmware
Option A: local ESP-IDF
# Clone the repository
git clone https://github.com/VibeEngineering-LLC/atomspectra-waterfall-esp32.git
cd atomspectra-waterfall-esp32

# Set the target chip
idf.py set-target esp32s3

# Build
idf.py build
Dependencies (usb_host_cdc_acm, littlefs) are downloaded automatically on the first build
via the ESP-IDF Component Manager (main/idf_component.yml).
Option B: Docker (no ESP-IDF install)
git clone https://github.com/VibeEngineering-LLC/atomspectra-waterfall-esp32.git
cd atomspectra-waterfall-esp32

# Build inside a Docker container
docker run --rm -v "$(pwd):/project" -w /project espressif/idf:v5.4 \
  bash -c ". /opt/esp/idf/export.sh && idf.py build"
On Windows (PowerShell):
docker run --rm -v "${PWD}:/project" -w /project espressif/idf:v5.4 `
  bash -c ". /opt/esp/idf/export.sh && idf.py build"
Build output: build/atomspectra.bin (+ bootloader + partition table).
4. Flashing
Via ESP-IDF (if installed)
# Connect the ESP32-S3 to the PC via the UART port
# Find the COM port (Device Manager → CH340/CH343/CP2102/FTDI)
idf.py -p COM14 flash
Via esptool directly (after a Docker build)
pip install esptool

# Flash all three images
esptool.py -p COM14 -b 460800 \
  --before default_reset --after hard_reset \
  write_flash --flash_mode dio --flash_size 16MB \
  0x0 build/bootloader/bootloader.bin \
  0x8000 build/partition_table/partition-table.bin \
  0x10000 build/atomspectra.bin
First boot — WiFi setup
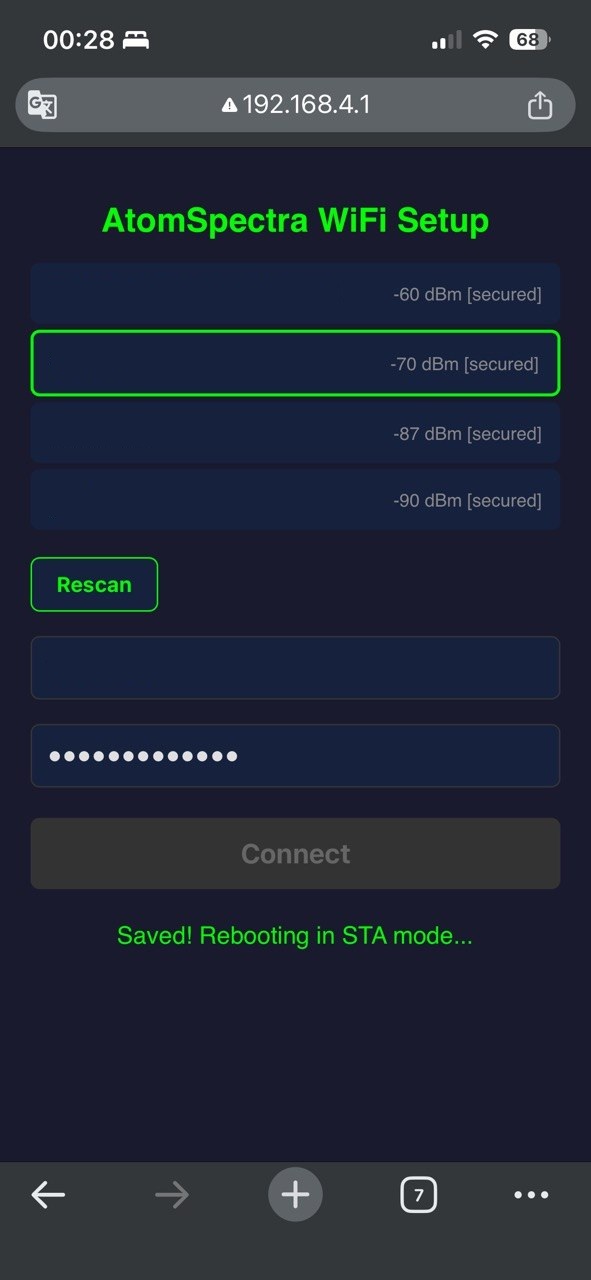
- After flashing, the board reboots and raises an access point “AtomSpectra-Setup” (open, no password)
- Connect to it with a phone or laptop
- A captive portal opens (or go to
http://192.168.4.1/) - Pick your WiFi network from the list
- Enter the password and press Connect
- The board reboots and connects to your network
- The board IP is in the router’s DHCP table or in the UART monitor:
idf.py -p COM14 monitor
5. Usage
- Open
http://<board-IP>/in a browser - Connect the spectrometer with a USB-C OTG cable to the USB port of the ESP32-S3 (not UART!)
- The spectrum appears automatically (refreshed once per second)
Controls
| Button | What it does |
|---|---|
| ▶ Start | Start spectrum acquisition on the instrument (command -sta) |
| ■ Stop | Stop acquisition (command -sto) |
| ↻ Reset | Reset the accumulated spectrum (command -rst) |
| Log / Lin | Toggle logarithmic / linear Y scale |
| CPS / Counts | Toggle Y units: count rate / accumulated pulses |
| Ch / keV | Toggle X scale: channels / energy in keV |
| Save | Save the current spectrum to the ESP flash |
| Load | Load a saved spectrum (overlaid on the live one) |
| XML | Download a BecqMoni-compatible file |
| CSV | Download an InterSpec-compatible file |
Cursor
Hover over the chart — info appears below it:
- Ch — channel number (0–8191)
- keV — energy (if calibration is available)
- Counts — accumulated pulses in the channel
- CPS — count rate in the channel
Energy calibration
Calibration is read from the instrument automatically on connection (command -inf).
If calibration is received — the keV button enables the energy scale.
Polynomial: E(ch) = c₀ + c₁·ch + c₂·ch² + c₃·ch³ + c₄·ch⁴.
6. Changing WiFi
Two ways:
- Via the Web UI: the WiFi Reset button → the board reboots into access-point mode
- Via UART:
idf.py -p COM14 erase-otadata+ reflash
7. TCP bridge for BecqMoni / AtomSpectra on a PC
If you want to use the desktop BecqMoni or AtomSpectra software over WiFi:
- In the program, choose “TCP/IP” instead of a COM port
- Enter the address:
<board-IP>port8234 - The program works as if directly connected over USB
The TCP bridge and the Web UI work simultaneously — data is duplicated.
8. Partition table
nvs,      data, nvs,      0x9000,   0x6000      (24 KB — WiFi settings)
phy_init, data, phy,      0xf000,   0x1000      (4 KB)
factory,  app,  factory,  0x10000,  3M          (3 MB — firmware)
storage,  data, littlefs, ,         12944K      (12.9 MB — saved spectra)
- 3 MB for the firmware (current size ~800 KB — large headroom)
- 12.9 MB LittleFS — ~400 spectra of 32 KB each
9. Security
WiFi password in flash
Your WiFi password is stored in the nvs partition in plaintext. Anyone with
physical access to the board can read the flash contents with a standard tool and
extract the password:
esptool.py -p COM14 read_flash 0x9000 0x6000 nvs.bin
strings nvs.bin        # the SSID and password will be among the strings
The Web UI (basic auth) and OTA passwords are stored the same way (unencrypted). This is a deliberate trade-off for the typical scenario — the board sits on a trusted home LAN and only the owner has physical access to it.
When it matters
Enable encryption if:
- the board is in a publicly accessible / untrusted location (office, lab, public space);
- strangers may gain physical access to it;
- sensitive credentials are stored in NVS.
How to enable it (NVS encryption + flash encryption)
The only correct way to protect the password in NVS is flash encryption (NVS
encryption works on top of it). The template in sdkconfig.defaults
is commented out:
#CONFIG_SECURE_FLASH_ENC_ENABLED=y
#CONFIG_NVS_ENCRYPTION=y
⚠ IRREVERSIBLE. Flash encryption burns eFuses on the ESP32-S3 chip. The process cannot be rolled back, the chip cannot be returned to its original state, and in Release mode reflashing over UART is blocked forever. A configuration mistake can brick the board.
Steps (only deliberately, after reading the Espressif documentation):
- Study the official docs: Flash Encryption and NVS Encryption.
- Uncomment the two lines in
sdkconfig.defaults. - Rebuild from scratch:
idf.py fullclean && idf.py build. - Flash. On first boot the chip generates a key and encrypts the flash.
The firmware ships with encryption disabled by default — the decision is left to you precisely because it is irreversible.
Troubleshooting
The spectrometer is not detected over USB
- Make sure the cable is a data cable, not a charge-only one
- Make sure you are using the USB port of the ESP32-S3 (labeled “USB”), not UART
- The UART monitor should show
USB device enumerated: VID=0403 PID=6001 - If the VID/PID differ — it is not an FTDI FT232R; check the spectrometer model
No spectrum (Web UI shows an empty chart)
- Send the
-infcommand via the input field in the Web UI - In the UART monitor, look for
shprotoandText(...)lines — a sign of data exchange - Check the baud rate: the instrument runs at 600000 (not 115200!)
WiFi will not connect
- The ESP32 supports 2.4 GHz only (not 5 GHz)
- Verify the password via the captive portal
- The WiFi Reset button in the Web UI clears the settings
The build fails
- ESP-IDF v5.1 or higher (USB Host is available from 5.0, LittleFS from 5.1)
- Target esp32s3 (not esp32, not esp32c3):
idf.py set-target esp32s3 - On dependency errors: delete
build/andmanaged_components/, then rebuild